Ceramic Coating Apollo Beach – The Prep Work That Separates Good from Great
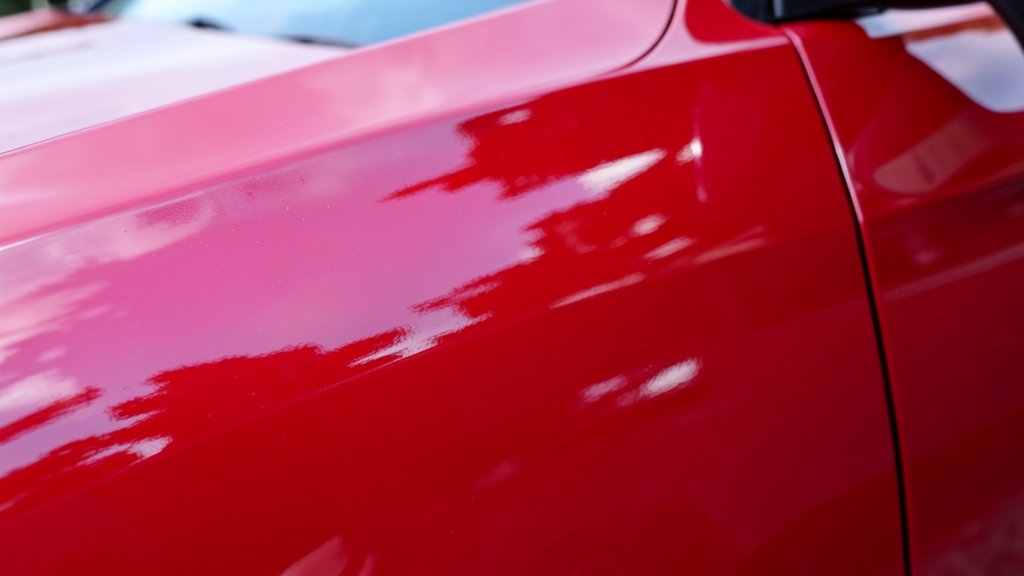
A ceramic coating is only as good as the surface it bonds to. In Apollo Beach’s harsh sun and salty air, skipping prep means a finish that fails fast. Our team knows the difference between a coating that lasts and one that peels lies in the hours spent before the first drop is applied.
Why Prep Work Makes or Breaks Your Ceramic Coating
Ceramic coatings bond at a molecular level to your vehicle’s clear coat. If that surface isn’t pristine, the coating can’t adhere properly, leading to premature failure, peeling, or uneven hydrophobic behavior.
Apollo Beach’s climate accelerates this risk. Salt spray, UV exposure, and pollen can embed in paint, creating invisible barriers. Without thorough decontamination, these contaminants sabotage adhesion before the coating even cures.
Applying ceramic coating over a dirty or oxidized surface risks poor results and wastes your investment. Always insist on full prep.
Step 1: The Deep Clean – Removing What You Can’t See
We start with a foam cannon wash to lift surface grime, followed by a two-bucket hand wash using pH-neutral shampoo. This removes loose contaminants without introducing new swirl marks.
Next, a clay bar or clay mitt treatment pulls embedded particles from the clear coat. In Apollo Beach, iron deposits from brake dust and industrial fallout are common culprits that clay alone can extract.
Step 2: Paint Correction – Fixing Imperfections Before They’re Sealed In
Even minor swirls or oxidation will be permanently trapped under a ceramic coating. Our team uses a dual-action polisher with progressively finer compounds to restore clarity and depth to the paint.
We measure paint thickness with a gauge to avoid over-polishing, especially on older vehicles or those with single-stage paint. This step is critical for Riverview and Sun City Center clients with sun-faded finishes.
| Correction Level | Purpose | Tools/Compounds Used |
|---|---|---|
| Light Polish | Removes minor swirls, enhances gloss | Finishing polish, foam pad |
| Medium Correction | Eliminates moderate scratches, oxidation | Dual-action polisher, compound, microfiber pad |
| Heavy Correction | Repairs deep scratches, severe oxidation | Rotary polisher, heavy-cut compound, careful thickness monitoring |
Step 3: Chemical Decontamination – The Final Purge
After mechanical cleaning, we use an iron remover spray to dissolve embedded brake dust and rail dust. This step turns purple as it lifts contaminants, revealing a truly clean surface.
A final IPA (isopropyl alcohol) wipe-down removes any remaining oils, waxes, or silicone from previous products. This ensures the ceramic coating bonds directly to the clear coat, not a layer of residue.
Never skip the IPA wipe. Even fingerprint oils can prevent adhesion. Use 90%+ IPA and a lint-free microfiber towel.
How Apollo Beach’s Environment Affects Prep and Coating Longevity
Salt air from Tampa Bay accelerates corrosion and etches into paint if not removed. Our prep process includes a dedicated salt-neutralizing step for vehicles near the water in areas like Ruskin or Gibsonton.
UV exposure in Florida is relentless. Without proper prep, oxidation can develop underneath the coating, leading to a dull finish. Paint correction ensures the coating seals a fresh, UV-resistant surface.
Prep for Special Cases: Wheels, Trim, and Glass
Wheels and brake calipers require separate decontamination due to heavy brake dust and high heat. We use dedicated wheel cleaners and iron removers, followed by a ceramic-specific prep spray for maximum adhesion.
For ceramic window tint or windshield coatings, glass must be stripped of all previous sealants and contaminants. A razor blade and glass-specific cleaner ensure a flawless bond, critical for hydrophobic performance in Apollo Beach’s sudden downpours.
Pre-Coating Checklist for Non-Paint Surfaces
- Remove all wheel weights and clean behind spokes
- Degrease brake calipers and suspension components
- Strip old sealants from glass using a dedicated glass cleaner
- Clay bar and IPA wipe all plastic trim and headlights
The Hidden Risks of Skipping Prep – Real-World Examples
We’ve seen coatings applied over waxy sealants peel within months. In one case, a Ruskin client’s SUV had a coating applied over a fresh wax job; the entire coating delaminated in sheets after six weeks.
Another example: a Riverview truck with heavy water spots. The spots were etched into the clear coat. Without correction, the ceramic coating amplified the flaws, making them permanently visible under sunlight.
How Long Does Prep Take? Setting Realistic Expectations
A full prep for a ceramic coating can take 8–16 hours, depending on the vehicle’s condition and size. Larger vehicles or those with severe oxidation, like many we see from Wimauma or Sun City Center, may require additional time.
Rushing prep compromises results. Our team allocates a full day for prep alone on most projects, ensuring every square inch is ready for the coating’s application.
How to Inspect Your Vehicle’s Prep Before Ceramic Coating
Not all prep is equal—here’s how to verify it’s done right before the coating goes on.
- 1Check for Water Beading
After decontamination, spray water on the surface. If it sheets off uniformly, the surface is clean. If it beads unevenly, residues remain.
- 2Run Your Fingers Over the Paint
A properly clayed surface feels glass-smooth. Any roughness indicates embedded contaminants were missed.
- 3Inspect Under Direct Light
Use a bright LED light at an angle to spot swirls, scratches, or holograms. These must be corrected before coating.
- 4Test with a Microfiber Towel
Wipe a clean microfiber towel over the surface. If it picks up color or grime, the prep isn’t complete.
- 5Verify Paint Thickness
Ask for a paint thickness gauge reading. Values below 4 mils may require caution during correction to avoid burning through the clear coat.
Frequently Asked Questions
Can I apply ceramic coating over existing wax or sealant in Apollo Beach?
No. Wax and sealants create a barrier that prevents the ceramic coating from bonding to the clear coat. Our team always strips all previous products during prep to ensure a bare, clean surface for maximum adhesion and longevity.
How often should I reapply ceramic coating in Apollo Beach’s climate?
With proper prep and application, a high-quality ceramic coating can last 2–5 years in Florida’s conditions. However, factors like parking location, washing habits, and exposure to salt air (common in Gibsonton or Ruskin) can shorten this. Regular maintenance washes help extend its life.
Does paint correction damage my car’s clear coat?
When done professionally, paint correction removes a microscopic layer of clear coat to eliminate imperfections. Our team uses precision tools and measures paint thickness to ensure we never compromise the integrity of the finish. DIY attempts with harsh compounds can cause permanent damage.
Is ceramic coating worth it for older cars in Apollo Beach?
Absolutely, if the paint is in decent condition. Older vehicles, especially those with single-stage paint common in Sun City Center or Wimauma, benefit from ceramic coatings to protect against further UV damage and oxidation. However, severe peeling or rust requires repair before coating.
What’s the difference between ceramic coating and paint protection film (PPF)?
Ceramic coatings are liquid polymers that bond to paint, enhancing gloss and hydrophobic properties. PPF is a physical urethane film that protects against rock chips and scratches. Many Apollo Beach clients opt for both: PPF on high-impact areas and ceramic coating for the rest of the vehicle.
Do you offer ceramic coating for wheels and brake calipers in Apollo Beach?
Yes. Wheels and calipers endure extreme heat and brake dust, which can degrade finishes quickly. Our team applies specialized ceramic coatings designed for these surfaces, ensuring long-lasting protection and easier cleaning. This service is popular among performance vehicle owners in Riverview and Ruskin.